domingo, 14 de setembro de 2014

Muffins de mirtilos e iogurte | Blueberry and yoghurt muffins


Há lá coisa melhor do que acordar tarde ao fim de semana e tomar o pequeno almoço na cama? Como sabe bem acordar devagarinho e comer o pequeno almoço com calma, sem pressa e horas para cumprir! Claro que para isso, convém ter alguém que nos prepare o pequeno almoço, porque termos que ser nós a fazê-lo e voltar para a cama, já não é a mesma coisa!
Além das torradinhas com manteiga, do sumo de laranja e do leite, há dias em que tenho ainda a sorte de poder desfrutar de uns ovos mexidos! O que nunca pode faltar é um docinho para terminar! 

Por vezes, costumo fazer uns bolinhos mais secos, sem cremes, para comer ao pequeno almoço ou para o lanche, como foi o caso dos Rolinhos de canela, e congelo. Depois é só por no forno para descongelar e aquecer um bocadinho e voilá! A cereja no topo do bolo para estes pequenos almoços de fim de semana.

Desta vez, trago-vos a receita de uns muffins que fiz para o pequeno almoço (estes não congelei porque a receita só dá para 6!). Fui encontrá-la no blog Dalia's Kitchen que fiquei a conhecer através de uma amiga e agora acompanho. Um blog com influências europeias, americas e árabes onde podemos encontrar pratos super diferentes e com óptimo aspecto.

Estes muffins são perfeitos para acompanhar um chá em dias mais frios ou para rematar um pequeno almoço. O crumble de noz por cima é qualquer coisa de indiscritível! Só mesmo experimentando... Se ainda os comerem quentinhos, melhor ainda!

Bons pequenos almoços para todos!

The Baking Nanny

Is there anything better than waking up late on the weekend and have breakfast in bed? It's so nice to wake up really slowly and eat breakfast calmly with no care what so ever for the numbers on the clock. Obviously that for it to be perfect, you need someone to prepare breakfast for you... It's not the same if you have to get up and do everything yourselves!
Toasts with butter, fresh orange juice, milk and even some scrambled eggs sometimes... And in the end, something sweet to wrap it up in beauty!

Sometimes I bake some more dried cakes, with no cream (just like the cinnamon roll), so that I can put them in the freezer and eat them whenever I want to. It's really simple! Just put them in the oven dor about 5 minutes and voilá! As good as new and ready to make weekend breakfasts sweeter! 

This time, I give you the recipe of some muffins that I made for breakfast (these ones I didn't save for later because the recipe is for 6, only). I found it in Dalia's Kitchen blog which was showed to me by a friend and now I follow it on a regular basis. It has a lot of recipes from all kinds of cultures (european, american, arabic) and you can find different and nice things that look really yummy! 

These muffins are perfect to have with some tea on colder days or to wrap up a delicious breakfast. The nut crumble on top leaves you with no words! You have to try them and see.... Obviously they taste even better if they are straight out of the oven! :)

Good breakfasts to everyone!! 

The Baking Nanny


MUFFINS DE MIRTILOS E IOGURTE
BLUEBERRY AND YOGURT MUFFINS

Ingredientes
Ingredients

130g de farinha peneirada
2 colher de chá de fermento
1/2 colher de chá de sal
6 colheres de sopa de manteiga sem sal
100g de açúcar
1 ovo
120mL de iogurte natural
100g de mirtilos frescos

1 cup sifted flour
2 tsp baking powder
1/2 tsp salt
6 tbs butter
1/2 cup white sugar
1 egg
1/2 cup yoghurt
1 cup fresh bluberries

Para o crumble

1 colher de sopa de manteiga sem sal
2 colheres de sopa de açúcar
2 colheres de sopa de farinha
1 colher de sopa de nozes Pecas picadas

1 tbs butter
2 tbs white sugar
2 tbs flour
1 tbs crushed pecans


Preparação
Preparation

Pré-aquecer o forno a 200ºC.

Peneirar a farinha, o sal e o fermento e reservar.

Preheat the oven to 200ºC.

Sift the flour, salt, baking powder and set aside.


Numa taça, bater a manteiga com o açúcar até obter um creme.

In a bowl, whisk the butter and sugar until creamy.


Juntar o ovo e o iogurte e misturar tudo.

Add the egg and yoghurt and combine well.


Envolver a farinha na mistura e juntar os mirtilos.

Fold in the flour mixture and finish by gently adding the blueberries (do not overmix!).


Para o crumble, juntar todos os ingredientes com um garfo com com as mãos.

To make the crumble, combine all the ingredients with a fork or crumble them with the hands.


Colocar a massa nas forminhas de muffins e polvilhar cada um com o crumble.

Fill the muffin cups in a baking tray to the top and sprinkle with the crumbles.


Levar ao forno durante 20 minutos.

Bake for 20 minutes.


quarta-feira, 10 de setembro de 2014

Marshmallows de morango | Strawberry marshmallows


Adoro gomas! Lembro-me tão bem que quando era mais nova, aproveitava os intervalos e a saída da escola para ir comprá-las na confeitaria mesmo em frente à escola! Fazíamos fila para voltar com o saquinho transparente a abarrotar de gomas e tentávamos comê-las antes dos pais chegarem... 
Pois, nunca na vida me passou pela cabeça que fosse possível fazer gomas em casa! Aquelas texturas, cores e sabores sempre me pareceram apenas um produto industrial, longe de poder ser alcançado por processos caseiros!

No entanto, há uns meses, uma amiga deu-me um frasquinho branco de glicose líquida (pois, eu também não sabia o que era!) e disse-me que se usava para fazer marshmallows! Hã??? Mas eu posso fazer marshmallows?!? 
Descobri que sim, uma vez mais, no livro da Manuela Kjeilen de onde tirei a receita e acreditem, são muito melhores do que aqueles que compramos nas lojas... Além disso, a receita é super simples de fazer e não contém aditivos químicos, pelo que podemos comer e oferecer às crianças sem culpa! Quer dizer, não convém abusar, porque além dos morangos e da gelatina, são só feitos com açúcar! 

Aqui fica a receita com fotos, para ver se vos convenço a experimentar!... 

The Baking Nanny

I just love gummies! I remember as if it was today that when I was younger, I would go to a small shop just outside school to buy them, whenever I had a chance! We would line up just to be able to bring that small plastic bag full of gummies and eat as much as possible so that our parents wouldn't see.
Never in my life I could imagine that we could have these homemade! The textures, the colors, the flavors.... It just always felt very industrial to me!

Anyways, a few months ago, a friend of mine gave me a small bottle of liquid glucose (yes, I also had no idea what it was) and told me that she used it to make marshmallows! Whaaaat? We can make them at home?!
As it turns out, we can. I found the recipe on Manuela Kjeilen's book and believe me: they are far better than the ones we buy in shops.... Besides, the recipe is super simple and it doesn't have any chemicals so we can eat them and give them to kids without feeling bad. But don't abuse it!! It's made almost out of pure sugar! 

Here is the recipe with pictures, so that you can also try it!...

The Baking Nanny


MARSHMALLOWS DE MORANGO
STRAWBERRY MARSHMALLOWS


Ingredientes
Ingredients


Para o puré de morango
250g de morangos
110g de açúcar

Para os marshmallows
8 folhas de gelatina
150g de açúcar
150g de glicose líquida
140g de puré de morango

For the strawberry purée
250g strawberries
110g sugar

For the marshmallows
8 gelatine sheets
150g sugar
150g liquid glicose
140g strawberry purée


Preparação
Preparation

Para o puré de morango, colocar o açúcar e os morangos num tachinho e levar a ferver durante 2 minutes.


For the strawberry purée, put the sugar and strawberries in a small pan and bring to the boil to cook for 2 minutes.


Retirar do fogo e peneirar para remover as sementes.

Colocar as folhas de gelatina numa tacinha com água fria.

Colocar os 150g de açúcar, metade da glicose e 70g do puré de morango num tachinho.

Remove from the heat and strain to remove the seeds.

Put the gelatine leaves in a bowl with cold water.

Put the 150g of sugar, half of the glucose and 70g of raspberry purée into a pan. 


Levar ao fogo até a mistura atingir os 110ºC e retirar.

Juntar as folhas de gelatina escorridas até se dissolverem.


Bring to the boil until the mixture has reacher a temperature of 110ºC and take the pan off the heat.

Pick up the gelatine leaves and squeeze out most of the water and add to the boiled mixture stiring until the gelatine has dissolved.


Colocar a restante glicose e o puré de morango numa taça e bater em velocidade média.

Put the remaining half of the glucose and strawberry purée into a mixing bowl and start whisking on a medium speed.


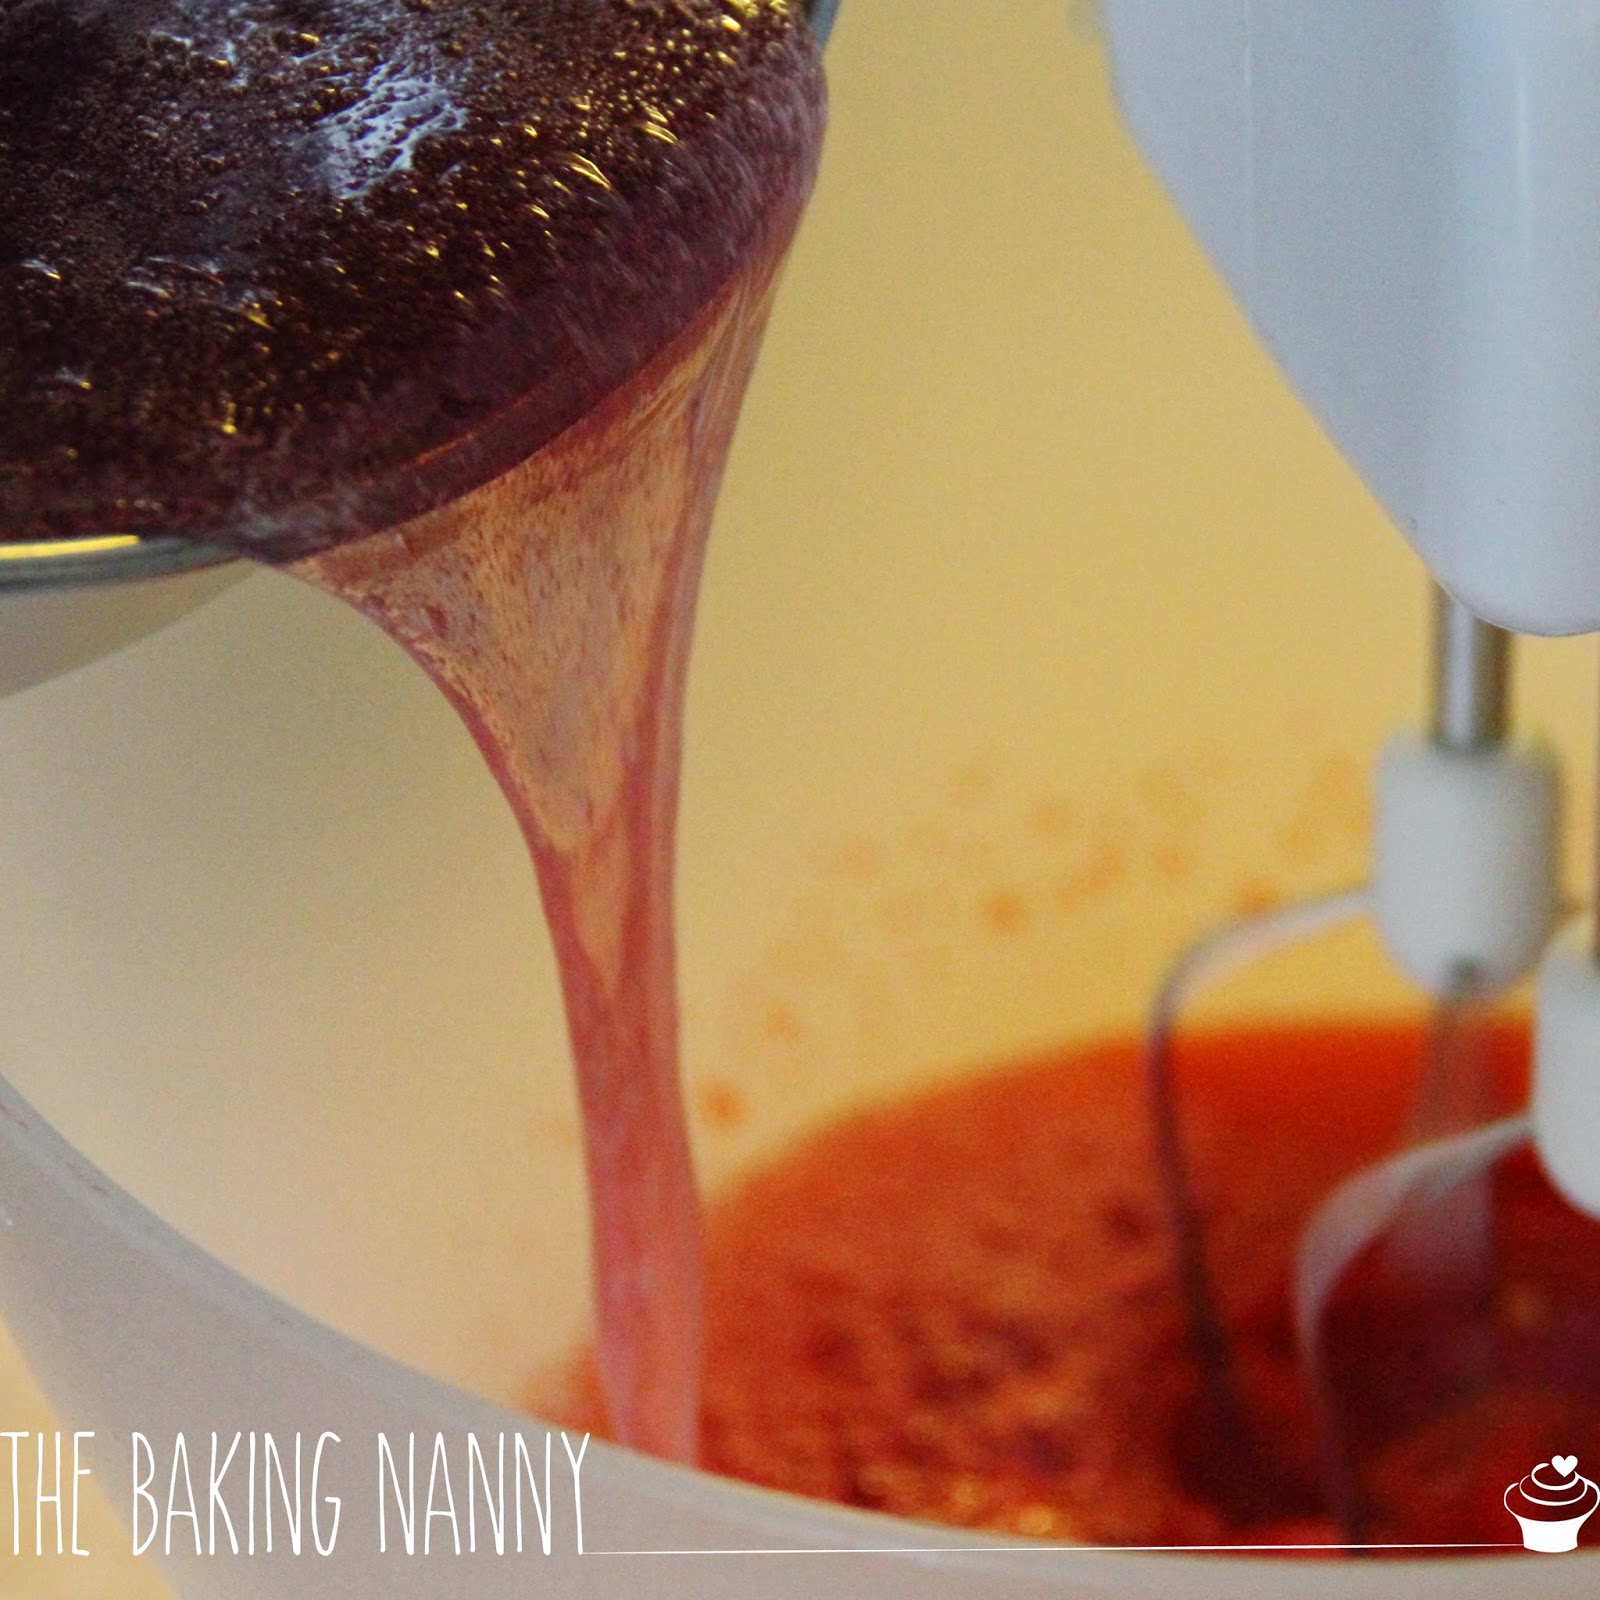
Adicionar a mistura de gelatina, sempre com a batedeira ligada e bater durante 5 minutos em velocidade alta.

Carefully pour the boiled mixture into the mixing bowl while still whisking on high speed for about 5 minutes.


Colocar papel vegetal num tabuleiro rectangular e polvilhar com açúcar em pó.

Line a tray with baking parchment and dust with powdered sugar.


Colocar a mistura de marshmallows e alisar a superfície.

Polvilhar com mais açúcar em pó e deixar repousar durante 2-3 horas.

Pour in the marshmallow mixture and smooth the surface.

Dust with some more powdered sugar and leave to rest for a couple of hours.


Cortar os marshmallows em cubos.

Cut the marshmallows mixture into cubes.


segunda-feira, 28 de julho de 2014

Salada de salmão fumado | Smoke salmon salad


Sei que as saladas não são para aqui chamadas, mas achei que podia começar a partilhá-las com vocês! Afinal, não há regras que mo impeçam de fazer! Como já tinha dito, desde que vim viver para a Noruega, passei a adoptar alguns hábitos dos noruegueses. E um deles foi passar a fazer refeições mais ligeiras ao almoço e deixar os pratos completos para o jantar. Se é correcto do ponto de vista nutricional, talvez não! Uma vez que (à partida) vamos gastar mais energia depois do almoço do que depois do jantar, deveríamos guardar a refeição mais ligeira para a noite. No entanto, é assim que tenho feito. E, a verdade é que dependendo da sandes ou da salada, podemos ter uma refeição bem mais calórica e pesada do que um prato principal completo como comemos ao jantar.

O importante aqui é que me tenho interessado cada vez mais em criar saldas e sandes diferentes! E acreditem, há um mundo para além das saladas do Vitaminas com massa, alface e 5 ingredientes à escolha. Não que essas também não sejam boas, aliás, esta primeira que tenho para partilhar com vocês é uma salada bastante simples e vulgar, que poderão comparar a essas. Só que é muito mais saborosa e feita por mim! Há inúmeros sabores que podemos combinar, conseguindo sempre um equilíbrio nutricional de hidratos de carbono e proteínas e uma boa dose de fibra, vitaminas e minerais, fornecida pelos legumes e hortaliças que lhes podemos juntar! Ah, e não me posso esquecer dos molhos, que mais ou menos saudáveis, dão o toque final às sandes e saladas. E aí, claro, também podemos brincar com os sabores!

Quero aproveitar este tempo livre para fazer novas experiências e partilhar com vocês! 

Espero que gostem tanto como eu!!!!

The Baking Nanny

I know that salads have no business being here but I thought I might share them with you anyways. After all, there are no rules against it! As I said before, since I moved to Norway, I adopted some of its habits and one of them was to start eating lighter at lunch and leave the more complete dishes for dinner.
I don't think it's the most correct thing to do from a nutritional point of view. Since normally people waste more energy after lunch than after dinner, we should save the lighter meal for night time. But anyways it's what I have been doing lately and the truth is that, depending on the type of salad or sandwich, you can have an even more caloric meal than if you had a normal dinner type dish.


The important thing is that I have been taking more interest in creating new and different salads and sandwiches. And believe me: there is an entire world of things you can di different than the typical everyday salad. It's not that these are bad; I will actually present to you a really simple salad that you may even compare with them. But it's much more yummy and it's made by me! You can combine a million different flavors and always achieve a good nutritional balance of carbs, protein and fiber, vitamin and mineral given by the veggies you add. Oh, and don't forget the sauces! More healthy or less healthy, they give the magic touch to the salad or sandwich. Obviously you can also play around with lots of different things and flavors on the sauce.

I want to use this fee time to share with you new experiences!

I hope you like them as much as I do!!!


The Baking Nanny


SALADA DE SALMÃO FUMADO
SMOKED SALMON SALAD


Ingredientes
Ingredients

Para a salada
For the salad

50g de massa fusili
30g de mistura de alfaces
4 tomates cherry cortados em metades
1/2 abacate cortado em cubos
2 rodelas de cebola roxa
1 rabanete cortado em rodelas finas
3 fatias de salmão fumado

50g whole fusilli pasta
30g lettuce mix
4 cherry tomatoes
1/2 avocado
2 slices of red onion
1 sliced radish
3 slices of smoked salmon

Para o molho de iogurte
For the yoghurt sauce

3 colheres de chá de iogurte natural
1 colher de chá de queijo creme
2 colheres de chá de limão
1 colher de chá de cebolinho picado
1/4 colher de chá de alho em pó
Sal e pimenta

3 tsp yoghurt
1 tsp cream cheese
2 tsp lemon juice
1 tsp finely chopped shive
1/4 tsp powder garlic
Salt and pepper


Preparação
Preparation

Cozer a massa em água com sal e um fio se azeite durante 5 minutos e deixar arrefecer.

Num prato fundo, colocar a mistura de alfaces, a massa cozida, o salmão fumado em pedaços e os restantes ingredientes.

Para o molho, misturar bem todos os ingredientes com uma colher.

Colocar por cima da massa

Boil the pasta in water with salt and a pinch of olive oil for about 5 minutes and let it cool off.

Place the lettuce mix, the pasta, the smoked salmon chopped in pieces and the rest of the ingredients on a deep plate.

For the dressing, mix all the ingredients nicely with a spoon.

Pour it on top of the pasta.


segunda-feira, 21 de julho de 2014

Cheesecake de chocolate branco e framboesas | White chocolate cheesecake and raspberries


Lembram-se de um post que fiz no facebook com uma foto da primeira encomenda da Baking Nanny? Pois bem, aqui têm a receita e as fotos! Não a publiquei mais cedo porque ainda há pouco tempo publiquei a receita do Cheesecake de Oreo e não quis que tivessem uma overdose de cheesecakes!

Assim que vi esta receita pela primeira vez (não preciso dizer onde, pois não? Está bem, eu digo... No blog Passion 4 baking!), fiquei rendida e disse que a tinha que fazer. Mostrei logo à minha amiga Sara, porque achei que tinha tudo a ver com ela. Foi ela a primeira a fazer e depois de saber que estava aprovada, não podia perder mais tempo. Adoro cheesecakes, adoro chocolate branco e adoro framboesas. O que podia correr mal? Fi-la pela primeira vez como sobremesa para um jantar de sushi (fotos) e acreditem que combinou na perfeição. Como qualquer cheesecake, deve ser servido bem fresco e num dia de sol como o que estava, foi a cereja no topo do bolo (não fui eu que disse, foram eles!).


Do you remember a picture I posted on facebook a while ago about an order that I got? Very well, here is its recipe and some pictures! I didn't publish it earlier because I had posted the Oreo Cheesecake not a long time ago and I don't want you to have a cheesecake overdose! 

The first time I saw this recipe (do I need to say where?! Ok..Surprise surprise - it was on the blog Passion 4 baking), I was mesmerized and I said to myself that I had to try it soon. I showed it to my friend Sara because I could feel that it matched her taste. She was actually the first to try baking it and after she told me how good it was, I could wait no longer. I love cheesecakes, white chocolate and raspberry. What could go wrong? I baked it at first as a desert for a sushi dinner and it matched perfectly! Like any other cheesecake, it was served really fresh and since the sun was burning, it fitted like a glove! (According to everyone's opinion!)


Tal como o cheesecake de Oreo, este também é gigante, ou não fosse feito com quase 1 kg de queijo creme! Claro que não há necessidade de tanta coisa se não for feito para muita gente. Da primeira vez que o fiz, como só éramos 4 a jantar, 1/3 da receita foi suficiente. Desta vez, como foi uma encomenda para uma festa de anos, resolvi fazer a receita completa, mas ainda assim disseram-me que foi muito. Por isso, deixo ao vosso critério as quantidades. E não se preocupem, porque funciona sempre!


E tal como todos os cheesecakes da Manuela Kjeilen, também este demora algum tempo a ficar pronto. São 3 horas no forno a 100º e pelo menos 8 horas no frigorífico para ficar com a consistência ideal. E acreditem que faz a diferença. O ideal, é fazerem no dia anterior a ser servido, para que fique bem fresquinho!

(Na receita original, o cheesecake é coberto com framboesas, mas neste usei morangos, a pedido da aniversariante!)

The Baking Nanny


Just like the Oreo cheesecake, this one is also huge (the recipe has almost 1kg of cream cheese!!) Obviously, there's no need to make it so big if you're not planning to serve it to a lot of people. First time I tried it, and since there was only 4 of us, 1/3 of the recipe was enough. This last time, since it was ordered for a birthday party, I decided to make the whole recipe but still they told me later that it was too much! That's why I leave the amounts of ingredients up to you and up to the occasion. It works the same way, regardless of the amounts! 

Just like all of Manuela Kjeilen's cheesecakes, this one also takes some time to get ready. It's 3 hours in the oven at 100º and at least 8 hours in the fridge so that it gets the perfect consistency. Believe me - It makes a difference! The best is to bake it the day before so that you can leave it in the fridge overnight.

(On the original recipe, the cheesecake is served with raspberries but this one has strawberries instead - it was the birthday girl's request!)

The Baking Nanny


CHEESECAKE DE CHOCOLATE BRANCO E FRAMBOESAS
WHITE CHOCOLATE CHEESECAKE WITH RASPBERRIES


Ingredientes
Ingredients


Para a base
For the base

240g de bolachas digestivas picadas
2 colheres de sopa de açúcar
6 colheres de sopa de manteiga sem sal derretida

240g finely crushed Digestive biscuits
2 tbs sugar
6 tbs unsalted melted butter


Para o recheio
For the filling

900g de queijo creme (temperatura ambiente)
285g de açúcar
2 colheres de sopa de pasta ou extracto de baunilha
4 ovos
100g de crème frâiche
150g de framboesas
150g de chocolate branco (derretido e frio)
200g de framboesas ou morangos para decorar

900g cream cheese (room temperature)
285g regular sugar
2 tbs vanilla paste or extract
4 eggs
100g sour cream
150g fresh raspberries
150g white chocolate (melted and cooled)
200g fresh raspberries or strawberries to decorate


Preparação
Preparation

Misturar as bolachas com a manteiga derretida e o açúcar.

Mix the biscuits with the melted butter and the sugar. 


Pincelar a forma com manteiga e colocar a mistura de bolacha.

Brush the side of a baking pan with some more melted butter and tip the biscuit mixture into the it.


Levar ao congelador durante 10 minutos e depois cozinhar no forno a 180ºC durante 10 minutos. Deixar arrefecer.

Reduzir a temperatura do forno para 100ºC.

Para o recheio, colocar o açúcar e o queijo creme numa taça e bater até que fique tudo bem misturado (atenção para não bater demais).

Place in the freezer for 10 minutes and then bake in a 180ºC oven for 10 minutes. Leave to cool.


Turn the oven temperature down to 100ºC.


For the filling, put the sugar and cream cheese into a mixing bowl and beat until it is well blended, but don't overmix.


Juntar os ovos, um a um, batendo sempre entre cada adição.

Add the eggs, one ata a time, beating just enough between each addition.


Juntar a pasta de baunilha, o crème frâiche e o chocolate branco. Mexer com cuidado até que fique tudo bem misturado.

Add the vanilla paste, sour cream and the white chocolate. Stir carefully until well blended.


Juntar as framboesas e envolve-las na mistura.

Add the raspberries and carefully fold them into the mixture.


Colocar o recheio por cima da base e levar ao forno a 100ºC durante 3 horas.

Pour the mixture onto the base and bake at 100ºC for 3 hours.


Deixar arrefecer completamente e levar ao frigorífico durante 8 horas.

Decorar com framboesas ou morangos.

Leave to cool completely and then chill for 8 hours.


Decorate with fresh raspberries or strawberries.